

This project reminded me a lot of that rainbow scratch paper I used to draw on as a kid. Like this one on Amazon. It starts off as a black sheet of paper, but as you scratch away at it with a little wooden dowel, all the rainbow colors start peeking through. This project is basically the grown-up version of rainbow scratch paper. It was inspired by this post on Elise Joy's blog. And I must say that I love how it turned out! Also, it felt like a fitting project to do after the end of my 100 Day Project, which was all about quotes and lettering.

Alright, first step: choose a quote. This may be the hardest step of all. Feel free to look through my curated quote collection on my Instagram. (Seriously, I've been loving having all of my favorite quotes in one place! It sure made this project a lot easier!)
Once you've chosen your quote, cut out all of the letters from regular old label paper. Since I used such a big canvas, I wanted my letters to be bigger than a single label would allow, so I used two labels together to make most of the letters. This does make it more complicated, so if you want you can just buy sticker paper and get it done a lot quicker. But I wanted to just use what I already had.
Be warned that this is the step that takes the longest. But I just sat down with my scissors, put on an episode of the Great British Baking Show, and thoroughly enjoyed myself!

Next, pick out the colors you want your letters to be. I chose light blue, dark blue, yellow, and pink. Start with one of the colors and paint vertical and horizontal criss-crossing strokes with a wide paintbrush. Let the paint dry completely, then repeat with the other colors until the entire canvas is painted.


Arrange your letters, then peel off the backings and stick them on the painted canvas.

Now paint the entire thing white! Be careful when painting around the letters in order to minimize the amount of paint that seeps under the stickers. Before I painted over a particular section, I made sure to smooth over all of the letters to make sure they were stuck down really well. I did about three coats of white paint. If you look closely, you can sort of see the colors underneath the white, but I rather liked it that way.

It's time for the most satisfying part!! Peel off all of the letters to reveal the beautiful colors underneath.
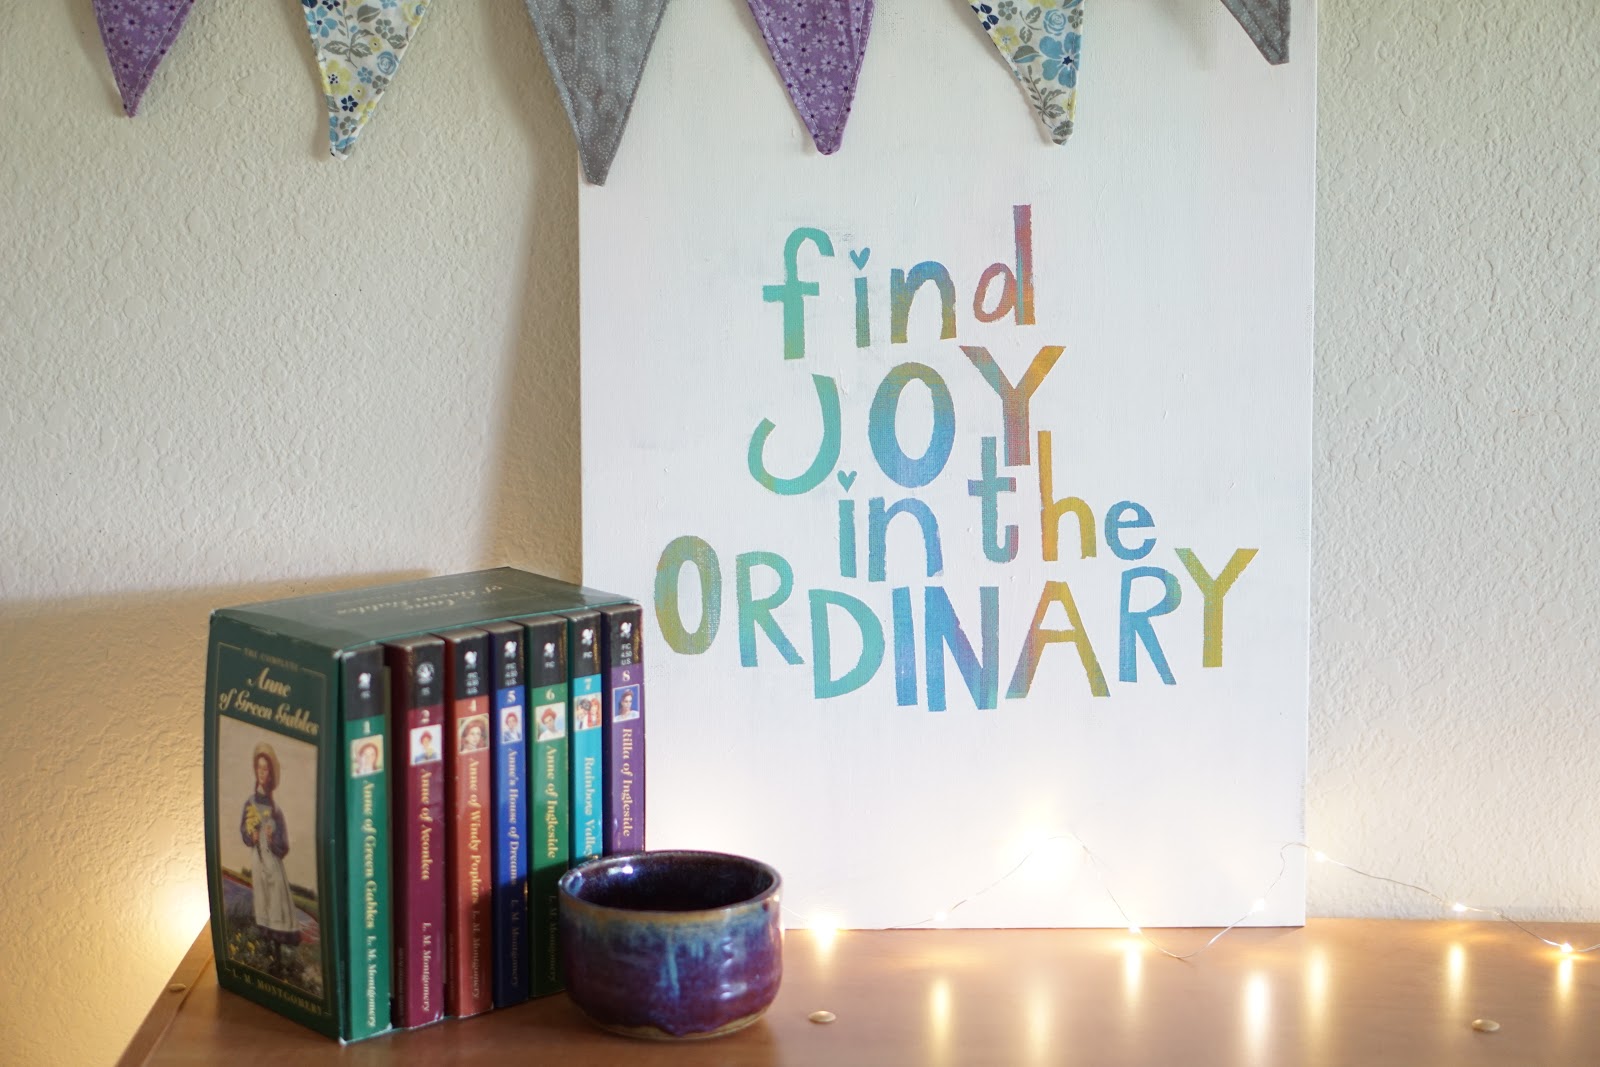
I had a lot of fun with this one! It's one of those projects that you can get lost in, cutting and painting while daydreaming or listening to an audiobook or watching the Great British Baking Show (which I'm sure you've realized by now is my favorite show ever). I'm considering making another one, especially because there are so many other great quotes I could use!
(By the way, if you like the fabric bunting in the above picture, you can find the tutorial on how to make it here!)
No comments:
Post a Comment