DIY Envelope Liners + Etsy Announcement!

5:00 PM


Today's the day! I've been working on some new Etsy products for my shop and they are finally ready! I've designed everything using Adobe Illustrator and I really like how they turned out. Head over to my shop to check out all the new stuff! 

Now it's time for a DIY. Ever heard of envelope liners? They are simply slips of scrapbook paper that you can stick inside an envelope. They are so fun and easy to make! And they provide a pop of color when your recipient opens their letter!


Step 1: Choose a sheet of scrapbook paper that you'd like to use to line your envelope. Place it face down. Trace your envelope, flap open, with a pencil on the back of the scrapbook paper. Then, set aside the envelope, and draw another envelope shape, this time smaller and inside your first shape. I drew my lines about a half inch away from my original lines,


Step 2: Go ahead and cut along your second outline.


Step 3: Slip your envelope liner inside your envelope. Secure the top flap with a piece of double-sided tape or with a glue stick to keep it in place.


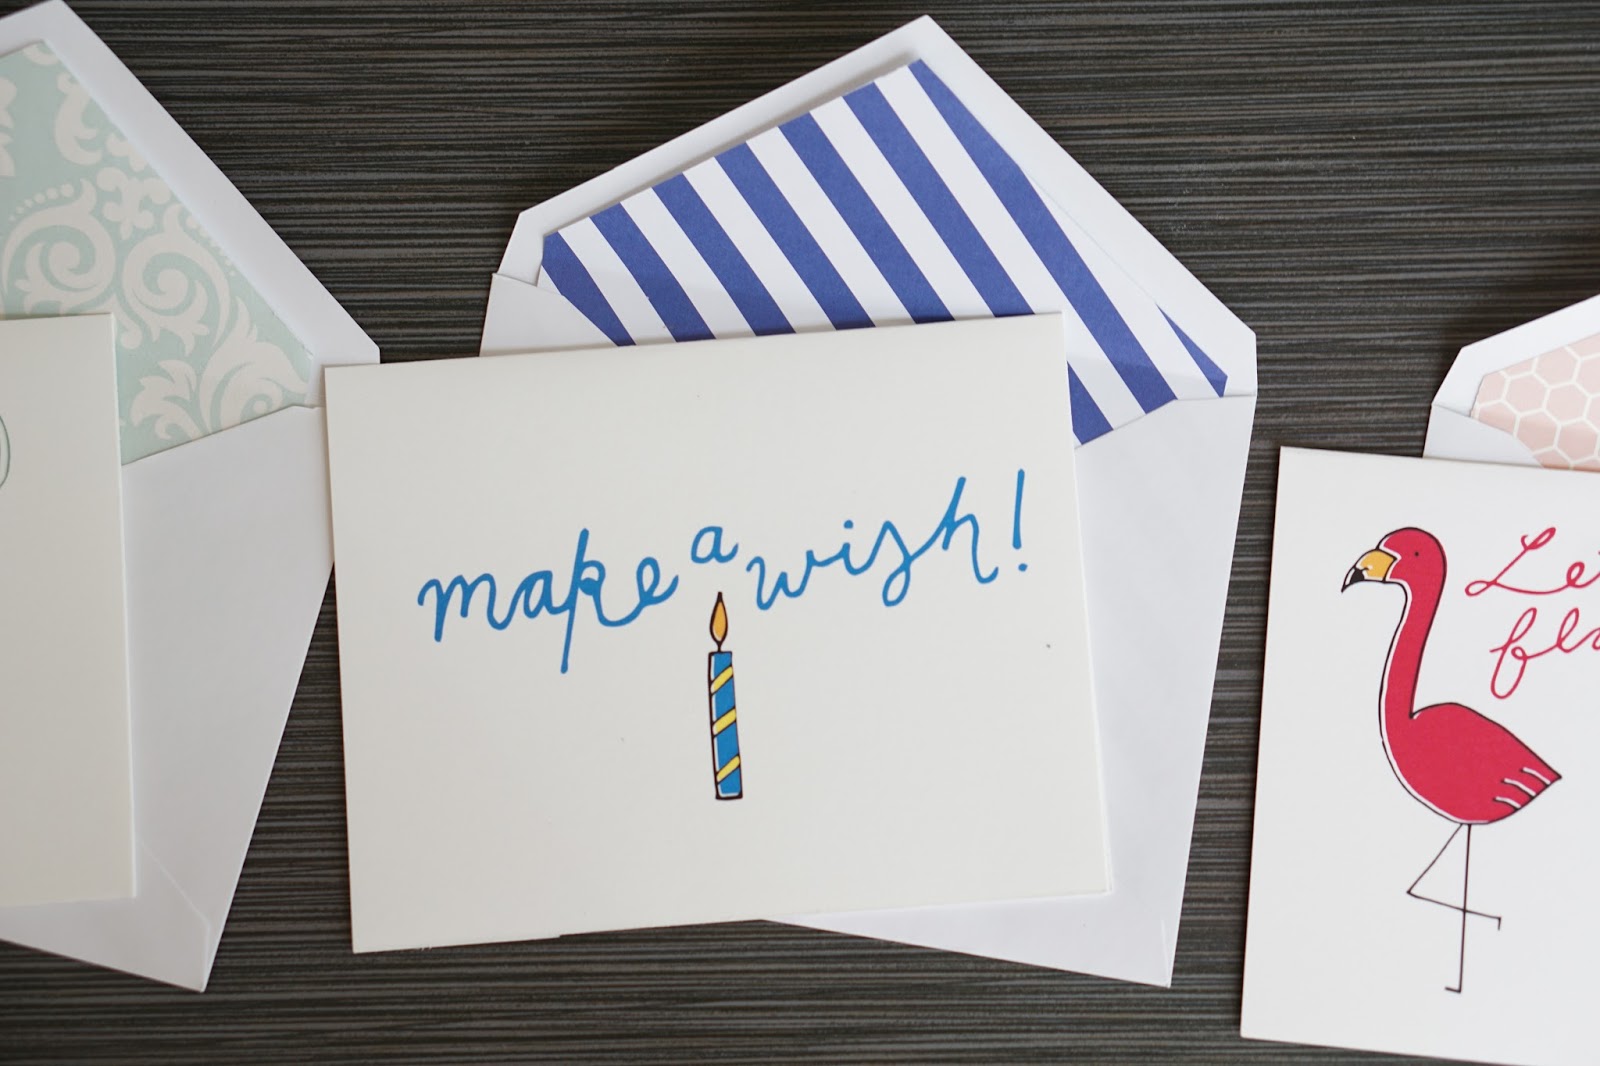
Doesn't it make the envelopes look so much more fun? I am definitely using this trick next time I need to send a letter.

Don't forget to check out my Etsy shop! Also, if you have any suggestions for DIYs, blog posts, recipes, or new Etsy products, send me a message via the Say Hello tab above or leave a comment! I'd love to hear from you.

DIY Tissue Paper Flowers

7:59 AM


I'm not sure if you know this about me, but I have an unexplainable obsession with a certain pink bird. I also have an 18th birthday coming up. So it just made sense to have a flamingo-themed birthday party! To go with the theme, I made these DIY tissue paper flowers. I am now officially hooked on using tissue paper to make party decorations! They are cheap, easy, and fun to make! Follow along below to see how to make them yourself!


SF Ice Cream Crawl

2:02 PM


So my little sister turned 15 yesterday. When did that happen? I feel like just the other day she was following me around and begging me to play with her. Now... we're wearing each other's clothes, going to the same school, liking the same things... She is less my little sister and more a friend now.


DIY Valentine's Day Goody Bags + Free Printable

9:54 PM


Remember the printable cupcake toppers I designed last week? Well, I've found another use for them! They are the perfect touch to Valentine's Day goody bags! I've re-sized them so that they're about twice as big. Here's how to use them to decorate goody bags! 
 
Materials:

  • pink and red trinkets and candy
  • red and white crinkle confetti
  • pink cellophane gift bags
  • twist ties
  • hot glue
  • printable hearts


Step 1: You're obviously going to need something to put in your goody bags! I just collected a bunch of pink and red trinkets, stickers, and candy.


Step 2: Fill your bags with your treats and trinkets. Add some crinkle confetti for good measure! Close your bag with a twist tie. Print and cut out the printable hearts.


 Step 3: With a small dab of hot glue, attach the cut-out heart to the front of the twist-tie.

Happy Valentine's Day!