Hey hey! As you all know, I went on a trip to Mexico earlier this summer. It was so hot and sunny! Luckily, I had my sunglasses. But as I was packing them, I realized that the only sunglasses pouch that I have is an old one that my parents lent me years ago. It works fine, but, let's be honest, isn't the prettiest. So I rushed downstairs and quickly sewed up this one! Really, it's that easy. It hardly took any time at all. Fortunately, I thought to take pictures along the way so I can share the how-to here!
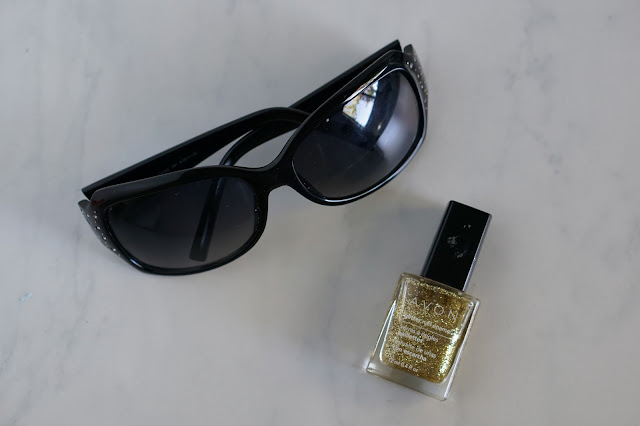
While I was at it, I added some glittery corners to the black frames of my sunglasses just by swiping on some gold glitter nail polish! That tutorial is also included in this post.
Hope your summer is wonderful so far and full of adventures!
(See how to make the cover-up in the picture above by clicking here!)
DIY Sunglasses Pouch
Materials:
- sunglasses (obviously!)
- scissors
- sewing machine
- thread
- scrap of fabric
- ruler
Step 1: Lay out your fabric right-side down and place your sunglasses along the short edge. Measure out how wide you want your pouch to be according to the size of your sunglasses. Keep in mind the seam allowance! Double this width and make another mark. Cut along this second mark. (My first mark was at 4.5" and my second mark was at 9".)
Step 2: Take the top edge of your fabric and fold it over an inch or so. Pin and sew. This is where the drawstring will go at the end.
Step 3: Fold your fabric in half with right-sides facing (so that you can see the raw edges of the section you just sewed). Pin along the side and bottom edges and sew.
Step 4: Turn your pouch right-side out. Your seams should be completely hidden inside. Now find where the seam on the long side meets the stitching at the top (see the picture below if you're confused). You are going to make two small slits, one on each side of this seam, in just a moment. Start by pinching one side so that you are holding one layer of fabric, like in the picture above.
Step 5: Take your scissors and cut into the layer of fabric that your fingers are holding. Repeat on the other side of the seam.
Step 6: Slide the drawstring through one slit and out the other. This step took the most time for me. After you're done, slip in your sunglasses and head for the beach!
DIY Glitter Sunglasses
Materials:
- sunglasses
- gold glitter nail polish
There's only one step to this DIY! Paint the nail polish on the two outside-bottom corners of your sunglasses and let dry completely. Repeat with another coat if needed.
Alternatively, you can experiment and try painting the nail polish in different places. I started out by painting the entire bottom half of the frames, but decided to go for the corners only instead. But it all depends on the shape, size, and color of your sunglasses! You can even try painting all of the frame! It's up to you.
Happy summer! See you next week!


No comments:
Post a Comment