I've wanted to try candle-making for what feels like ages! I love candles and making my own sounded so fun! But for some reason, it felt daunting. I didn't know what type of wick to buy or what kind of wax to get. But this last week, I was determined to figure it out. And as it so happens, it wasn't even that complicated! You really only need three or four supplies.

You'll also need a wick. I bought mine preassembled (wick rope plus tabs), but you can also buy the wick rope and wick tabs (the metal bits) separately and assemble them yourself. I think assembling them yourself is the cheaper way to go, but when I went to Michael's to buy my supplies, they didn't have any wick rope in stock, so I just bought a pack of preassembled wicks.
The last thing I bought was fragrance oil. This is optional, but I decided to get it just for fun. I went with vanilla, but there were so many fun choices!!
IMPORTANT: Be sure to buy the right supplies for the specific container you want to use. The wax at the store should have a label on it that specifies whether it is for pillar candles or jar candles. Same with wicks. Also, wicks can only be used in containers with specific diameters. For example, the wicks that I bought were specifically for jars with diameters between 3 and 4 inches. So be sure to read the package! If you're not sure what to buy or if the items aren't labeled, ask someone in the store for help.
The first step is to use hot glue to secure the wick tab in the center of the jar. Use a pencil to push it down if your jar is too deep.

Next, set up your jar so that the wick is secured and pointed straight up. I taped a pencil down across the diameter of the jar, then secured the wick to the center with more tape. It wasn't the most glamorous set-up, but it worked fine for me.
Use a double-boiler to melt the wax. Using a double-boiler gives you more control over the temperature of the wax. The volume of wax substantially decreases when you melt it down, so scoop out approximately 2-3 times the volume of the jar to ensure you melt enough. (Even if you don't melt enough, it's not the end of the world. Just melt a bit more real quick and pour it in with the rest.)
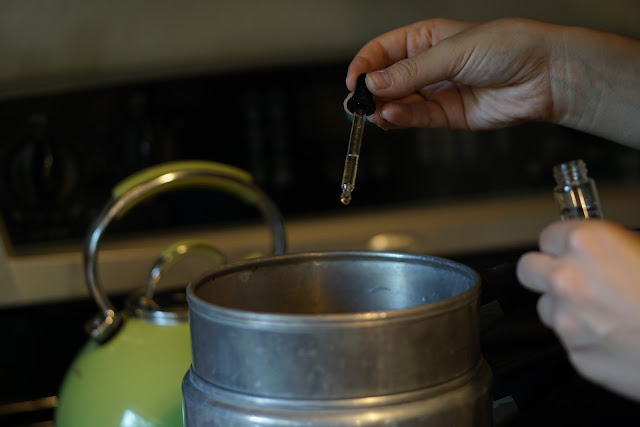
Optional: Add your fragrance to the wax right before you're about to pour it into the jar. It's good to wait until the last minute because as soon as the fragrance is added to the hot wax, it will start evaporating out. The package for my fragrance said to add about 7 mL of fragrance, but I decided to add about 5 mL instead because there are a lot of people in my family who are really sensitive to smells. I probably could have gone for the entire 7 mL since the fragrance didn't turn out to be super strong, but I wanted to be on the safe side. It's just a matter of experimenting as you go to see what amount of fragrance you prefer.
Once the fragrance is added, pour the wax into the jar. Allow the candle to set overnight undisturbed. You will see the wax start to cool and solidify within an hour, but be sure to let it set completely before you use it!
See? Easy-peasy! I was really happy with how my candles turned out! I made one for myself and one for my grandma's birthday. (Hi Grandma!) I've been burning mine over the last couple of days and I think its going to last a while. Plus, I still have 3 pounds of soy wax left, so I'm definitely going to be doing some more candle-making soon!


Natural soy wax doesn't produce much soot as paraffin does. 100% soy candles burn cleaner with little soot released. Paraffin often creates a significant amount of black soot that collects on the jar and your walls and other home surfaces. homemade soy candles
ReplyDelete