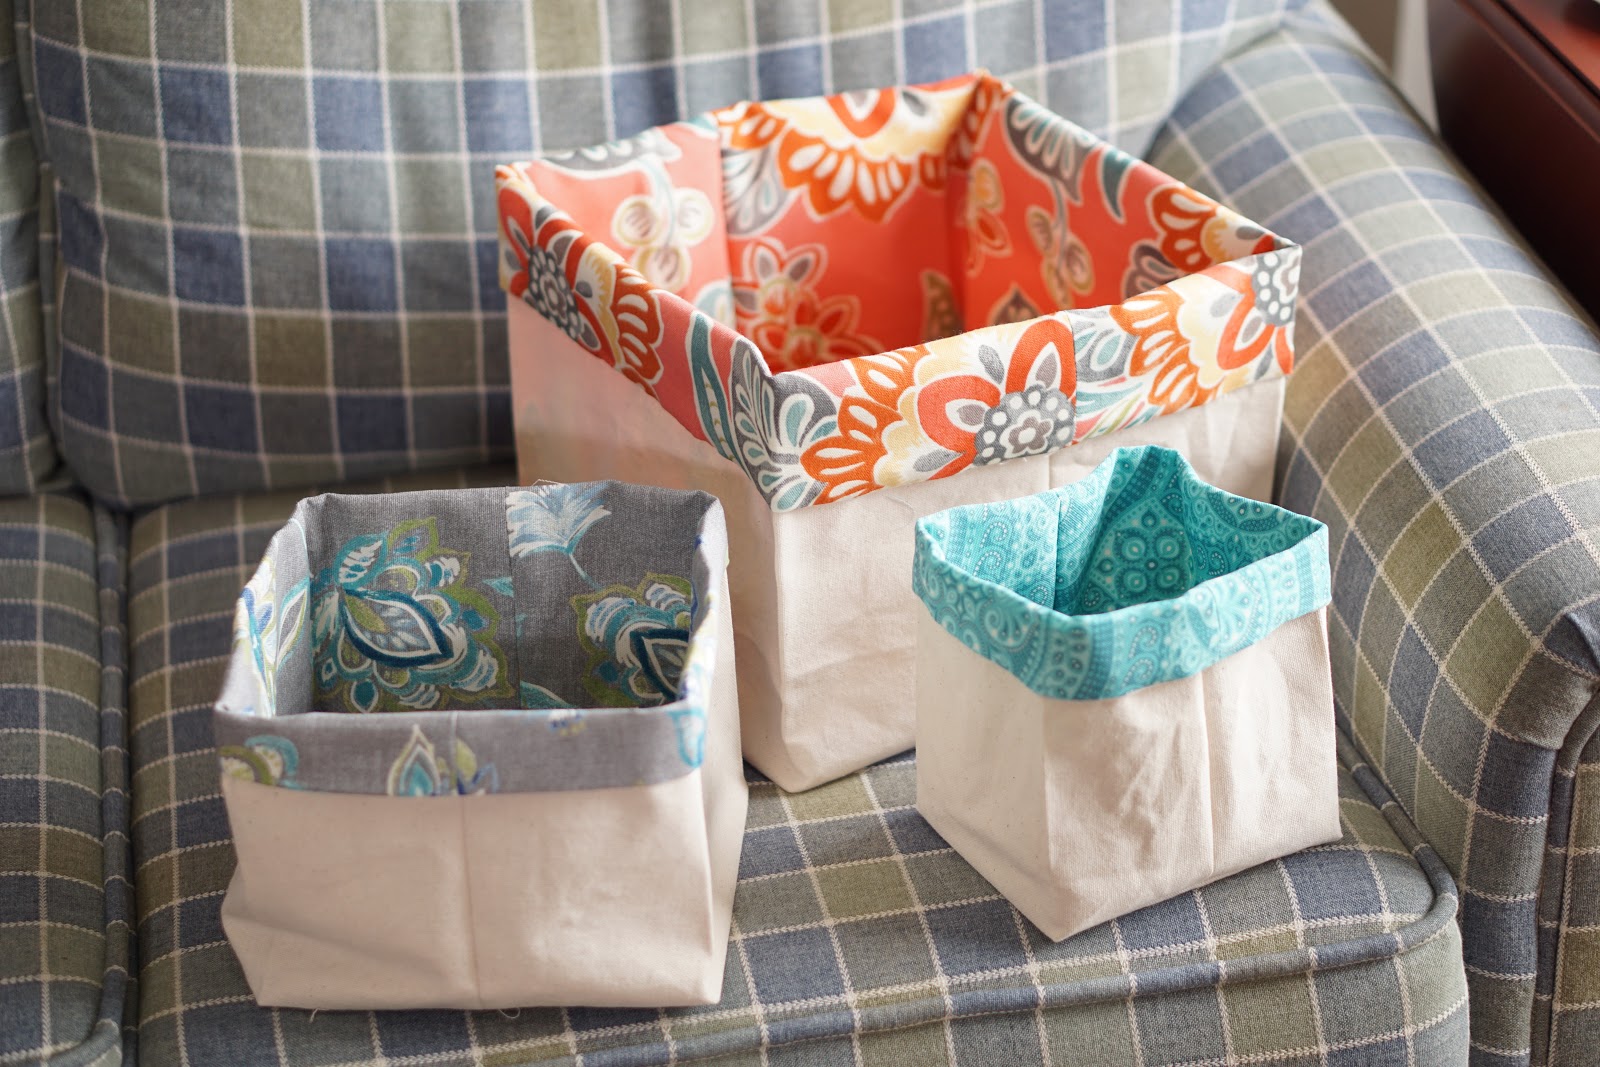
And, of course, this also means that I've been sewing up a storm! I wanted to share my latest little project that I've been working on for the apartment. I'm not entirely sure what to call them. Fabric baskets? Fabric storage containers? The tutorial I used called them fabric bins, so let's go with that.
Showing posts with label easy. Show all posts
DIY Fabric Bins
11:15 AM
DIY Canvas Quote
8:00 AM
This project reminded me a lot of that rainbow scratch paper I used to draw on as a kid. Like this one on Amazon. It starts off as a black sheet of paper, but as you scratch away at it with a little wooden dowel, all the rainbow colors start peeking through. This project is basically the grown-up version of rainbow scratch paper. It was inspired by this post on Elise Joy's blog. And I must say that I love how it turned out! Also, it felt like a fitting project to do after the end of my 100 Day Project, which was all about quotes and lettering.
The Perfect Summer Smoothie
8:00 AM
I have discovered a new favorite smoothie ingredient: grated ginger! I know it may sound strange, but trust me, it tastes amazing in smoothies!! In addition to freshly grated ginger, this smoothie also has strawberries, mangoes, and peaches, making it the ultimate summer smoothie. It's also got chia seeds and flaxseed meal in it, both of which are super healthy -- and, even better, you can't even taste them!
Protip: if you're worried about using up fresh ginger before it goes bad, just freeze it! If you need to grate some for a recipe, set it out on the counter for 5-10 minutes, grate however much you need, pop it back in the freezer, and you're good to go!
DIY Soy Candles
8:00 AM
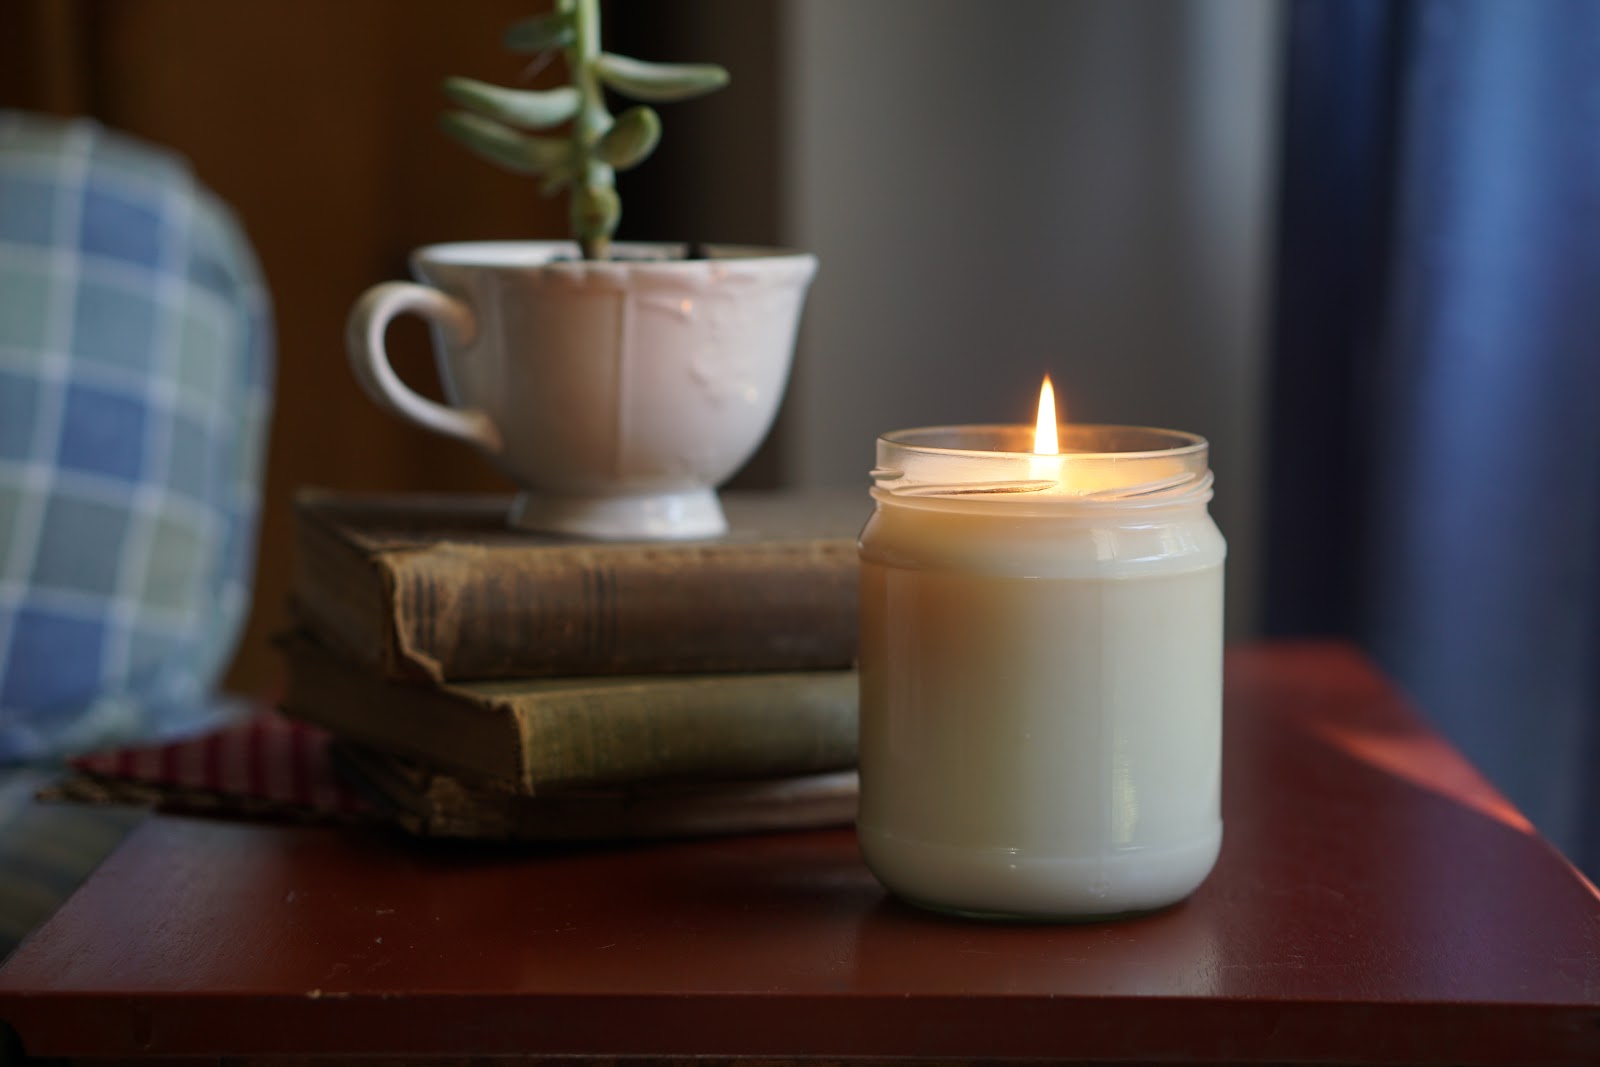
I've wanted to try candle-making for what feels like ages! I love candles and making my own sounded so fun! But for some reason, it felt daunting. I didn't know what type of wick to buy or what kind of wax to get. But this last week, I was determined to figure it out. And as it so happens, it wasn't even that complicated! You really only need three or four supplies.
Banana Berry Smoothie
6:27 PM


Spring is in the air! The weather this week has been so incredibly nice, even reaching the lower 70s for the first time in ages! I went to a wedding yesterday and the day was so gorgeous!! The past few days have made me realize just how much I've missed the nice weather!
Just as tea is more enjoyable in the winter, smoothies are so much better in the spring and summer. So this morning, I whipped up this smoothie to celebrate these early spring days!
This smoothie has a secret ingredient that I've actually never tried before in a smoothie: green tea! Who would have guessed? Green tea is so good for you, so its a great alternative to adding plain water as your smoothie base. It has loads of antioxidants and nutrients. A quick Google search will tell you all you need to know and more if you want to read up on the benefits of green tea in detail.
In addition to green tea, this smoothie has a whole banana, mixed berries, and chia seeds! So basically it's really good for you, and it tastes good! (That's probably thanks to the maple syrup, but life is all about a balance!)
Banana Berry Smoothie with Green Tea
Ingredients
- 2/3 cup green tea*
- 1/3 cup vanilla almond milk
- 1 frozen banana
- 2/3 cup frozen mixed berries
- 1/3 cup nonfat Greek yogurt
- 1 tbsp maple syrup
- 1/2 tbsp chia seeds
Combine all ingredients in a blender and blend until smooth. Enjoy in a Mason jar with a fun straw! Makes about 2 servings.
*I used my favorite green tea, Kirkland Matcha Blend Green Tea from Costco. After brewing 2/3 cups, I added an ice cube to cool it down a bit before adding it to the blender.
Printable Christmas Gift Tags
6:01 PM
Christmas is officially a week from today! I can't believe that it's that time of the year again. I've been busy this week wrapping gifts, baking cookies, and doing a bit of last-minute shopping. I've also been avoiding the area around the mall at all costs. It's worse than Black Friday in there!
For today's post, I've created these simple little gift tags to help you in wrapping your presents. I used them on a few of the gifts I wrapped and liked how they turned out!
I recommend printing them out on cardstock, just so that they're a bit sturdier and can handle marker or Sharpie or whatever you use to write on them.
Print them out here.
Merry early Christmas!
DIY Cinnamon Sugar Lip Scrub
8:00 AM
I've been trying to wear more lipstick lately, just because it's fun and gives me an immediate boost of confidence! Sure, you have to bother with reapplying multiple times throughout the day, but I think it's worth the extra effort. That being said, dry lips and lipstick do not go well together. That's why I decided to whip up this sugar lip scrub! I try to use it every night and always follow it up with a generous amount of lip balm. That way, in the morning, I'm prepped for my pink lipstick!
This lip scrub is super super simple to put together. It's made of ingredients that you probably already have in your kitchen and can be mixed together in five minutes or less.
DIY Bud Vase
9:41 AM
I absolutely love having fresh flowers around. They completely brighten up a room and have actually been proven to improve your mood! This DIY bud vase is a great way to display a single flower picked from the garden or the last surviving one from a bouquet. And all you need is a glass bottle (like a soda bottle) and spray paint in the color of your choice. I used Krylon ColorMaster in bright white.
DIY Cactus Tote Bag
7:51 AM
DIY Drawstring Sunglasses Pouch
5:27 PM
Hey hey! As you all know, I went on a trip to Mexico earlier this summer. It was so hot and sunny! Luckily, I had my sunglasses. But as I was packing them, I realized that the only sunglasses pouch that I have is an old one that my parents lent me years ago. It works fine, but, let's be honest, isn't the prettiest. So I rushed downstairs and quickly sewed up this one! Really, it's that easy. It hardly took any time at all. Fortunately, I thought to take pictures along the way so I can share the how-to here!
While I was at it, I added some glittery corners to the black frames of my sunglasses just by swiping on some gold glitter nail polish! That tutorial is also included in this post.
Hope your summer is wonderful so far and full of adventures!
(See how to make the cover-up in the picture above by clicking here!)
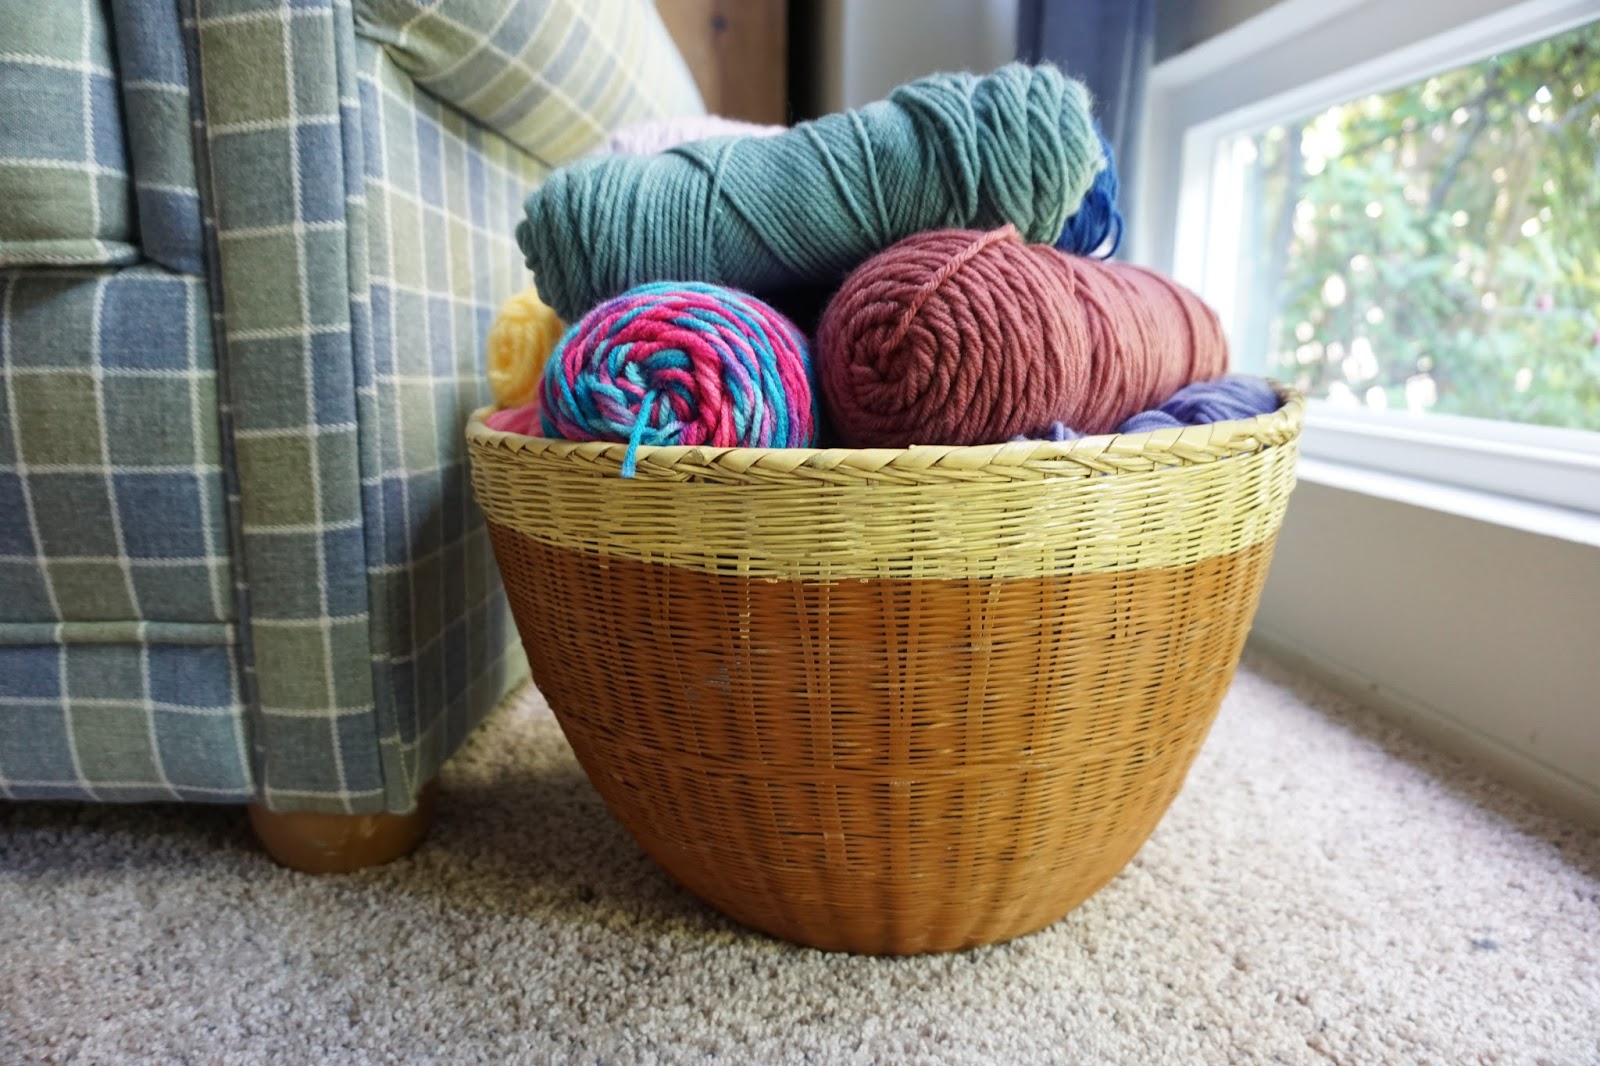
Easy DIY Painted Basket
1:44 PM
Printable Coloring Page!
8:28 AM
For my birthday, I received the Secret Garden coloring book. I never thought I was the coloring type, but I've already finished several pages and bought myself some new colored pencils! So I'd say I'm officially hooked. My favorite time to color is while watching a movie or listening to music.
The other day I decided to create my very own coloring page to share with you! It was actually really fun. Scroll down to the bottom of this post to print it out.
DIY Ombre Succulent Pot
1:46 PM
Word is going around that "plant lady" is the new "cat lady", though I think I fall into both categories. I obviously love cats, and succulents have been growing on me (no pun intended!). Especially when my dad brought home this little guy! Actually, it's a girl. And her name is Ginny after Ginny Weasley from Harry Potter because it's a red-headed Irishman cactus, so obviously that was the most suitable name.
I've had her in a jar for a while, and it looked cute and all, but then she began to tip over and fall right out of her jar! I realized it was because she was growing and becoming top-heavy. So, I decided she needed a new home.
See what I mean? Plant lady for sure.
DIY Fabric Bunting
1:30 PM
Hope the first day of May is treating you well! I'm currently being attacked by some ruthless allergies while I study nonstop for IB tests coming up this week, but it's okay! Summer (and graduation!) is almost here. I can see the light at the end of the tunnel.
Anyway, so I made this fabric bunting that I think turned out so cute! I love the way it adds a little character to a room/entryway. The hardest part is picking the fabrics! After that, this project is pretty easy.
DIY Spa Day
1:04 PM
With spring rolling around, I thought it was the perfect time to treat myself with a DIY spa day. Something about the fresh breeze coming through the windows and the sound of wind chimes and the warmth of the sun gets me in the mood for a good pampering session. (Also, prom is coming up this Saturday, so I thought it'd be fun to use a few DIY tricks to get ready!) For this spa day, I went all out! Hair mask, infused water, face mask, foot soak, the whole shebang.
DIY Letter Pillow
1:24 PM
I've recently been browsing the Internet for potential dorm room decor. Half the things I search up I don't even plan on buying, but it's really fun to window shop and dream about my new space. But, of course, DIYs are even more fun! This one is perfect for decorating your bedroom (and its going to look great in my dorm room this fall!).
I especially love this DIY because it's personal and you can customize it! The color and patterns of the fabric are up to you. I absolutely loved this floral pattern (and, especially since I only needed 1/3 yard, it cost me no more than $3!). Another idea: coordinating fabrics to create an entire word!
Easter Place Cards (Free Printable!)
2:28 PM
Free iPhone Wallpaper for Spring
11:15 AM
Well, it feels like spring here in California. And it will actually be spring in only a few weeks! Mark your calendars! On March 20th, winter will officially be over! In celebration of the rapidly-approaching change in seasons and the upcoming Easter holiday, I have for you free downloadable iPhone wallpaper!
These tulips are courtesy of my grandma, who dropped them off for my birthday (oh yeah, I'm 18 by the way!). They were so pretty I had to turn them into iPhone wallpaper!
Getting this picture from my blog to your phone is easy. If you're already on your phone, simply hold down on the photo below until the Save Image option comes up. If you're on the computer, go ahead and right-click on the photo and save it to your computer, then send it to your phone (I do this via email). Enjoy your small taste of spring!
Don't forget: my new Etsy shop listings are up! View them here. Also, check back again on Tuesday of this week because it's my first blogiversary! I'll be doing an extra special post for that day. You won't want to miss it!
DIY Envelope Liners + Etsy Announcement!
5:00 PM
Today's the day! I've been working on some new Etsy products for my shop and they are finally ready! I've designed everything using Adobe Illustrator and I really like how they turned out. Head over to my shop to check out all the new stuff!
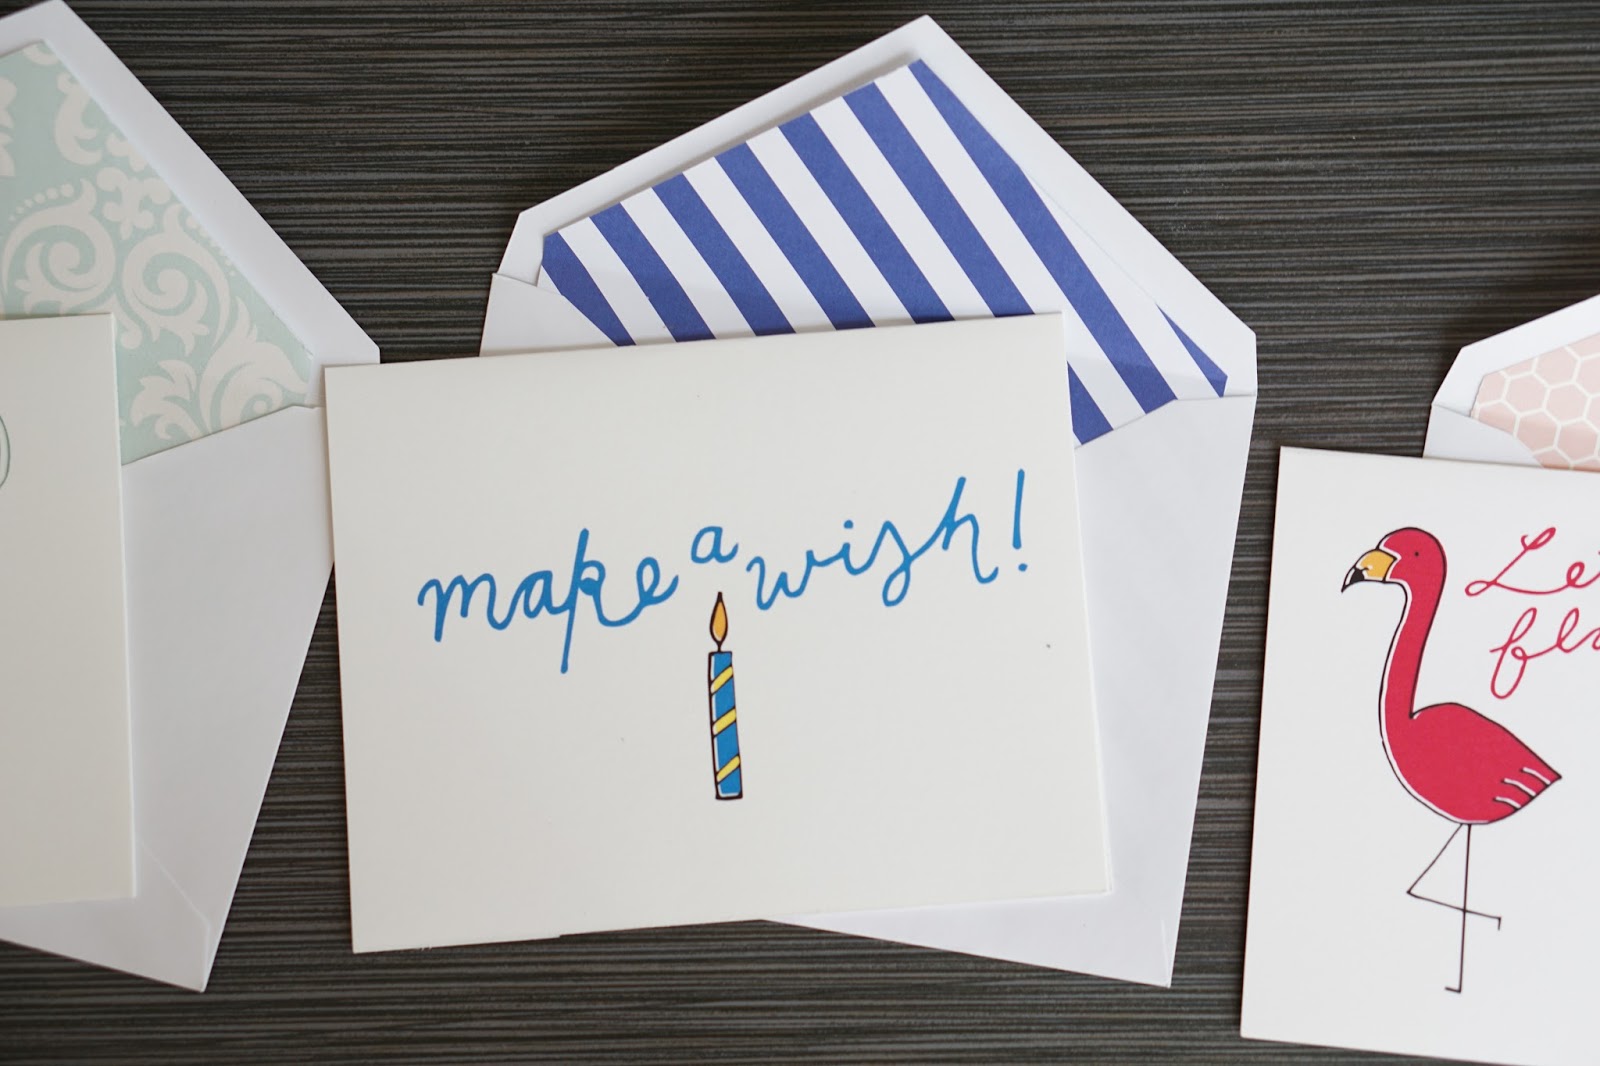
Now it's time for a DIY. Ever heard of envelope liners? They are simply slips of scrapbook paper that you can stick inside an envelope. They are so fun and easy to make! And they provide a pop of color when your recipient opens their letter!
Step 1: Choose a sheet of scrapbook paper that you'd like to use to line your envelope. Place it face down. Trace your envelope, flap open, with a pencil on the back of the scrapbook paper. Then, set aside the envelope, and draw another envelope shape, this time smaller and inside your first shape. I drew my lines about a half inch away from my original lines,
Step 2: Go ahead and cut along your second outline.
Step 3: Slip your envelope liner inside your envelope. Secure the top flap with a piece of double-sided tape or with a glue stick to keep it in place.
Doesn't it make the envelopes look so much more fun? I am definitely using this trick next time I need to send a letter.
Don't forget to check out my Etsy shop! Also, if you have any suggestions for DIYs, blog posts, recipes, or new Etsy products, send me a message via the Say Hello tab above or leave a comment! I'd love to hear from you.
DIY Tissue Paper Flowers
7:59 AM
I'm not sure if you know this about me, but I have an unexplainable obsession with a certain pink bird. I also have an 18th birthday coming up. So it just made sense to have a flamingo-themed birthday party! To go with the theme, I made these DIY tissue paper flowers. I am now officially hooked on using tissue paper to make party decorations! They are cheap, easy, and fun to make! Follow along below to see how to make them yourself!
Subscribe to:
Posts (Atom)