


Follow along below to learn how to make it yourself!
Materials:
- canvas tote bag
- printable cactus design
- iron
- iron-on transfer paper (for light fabric)
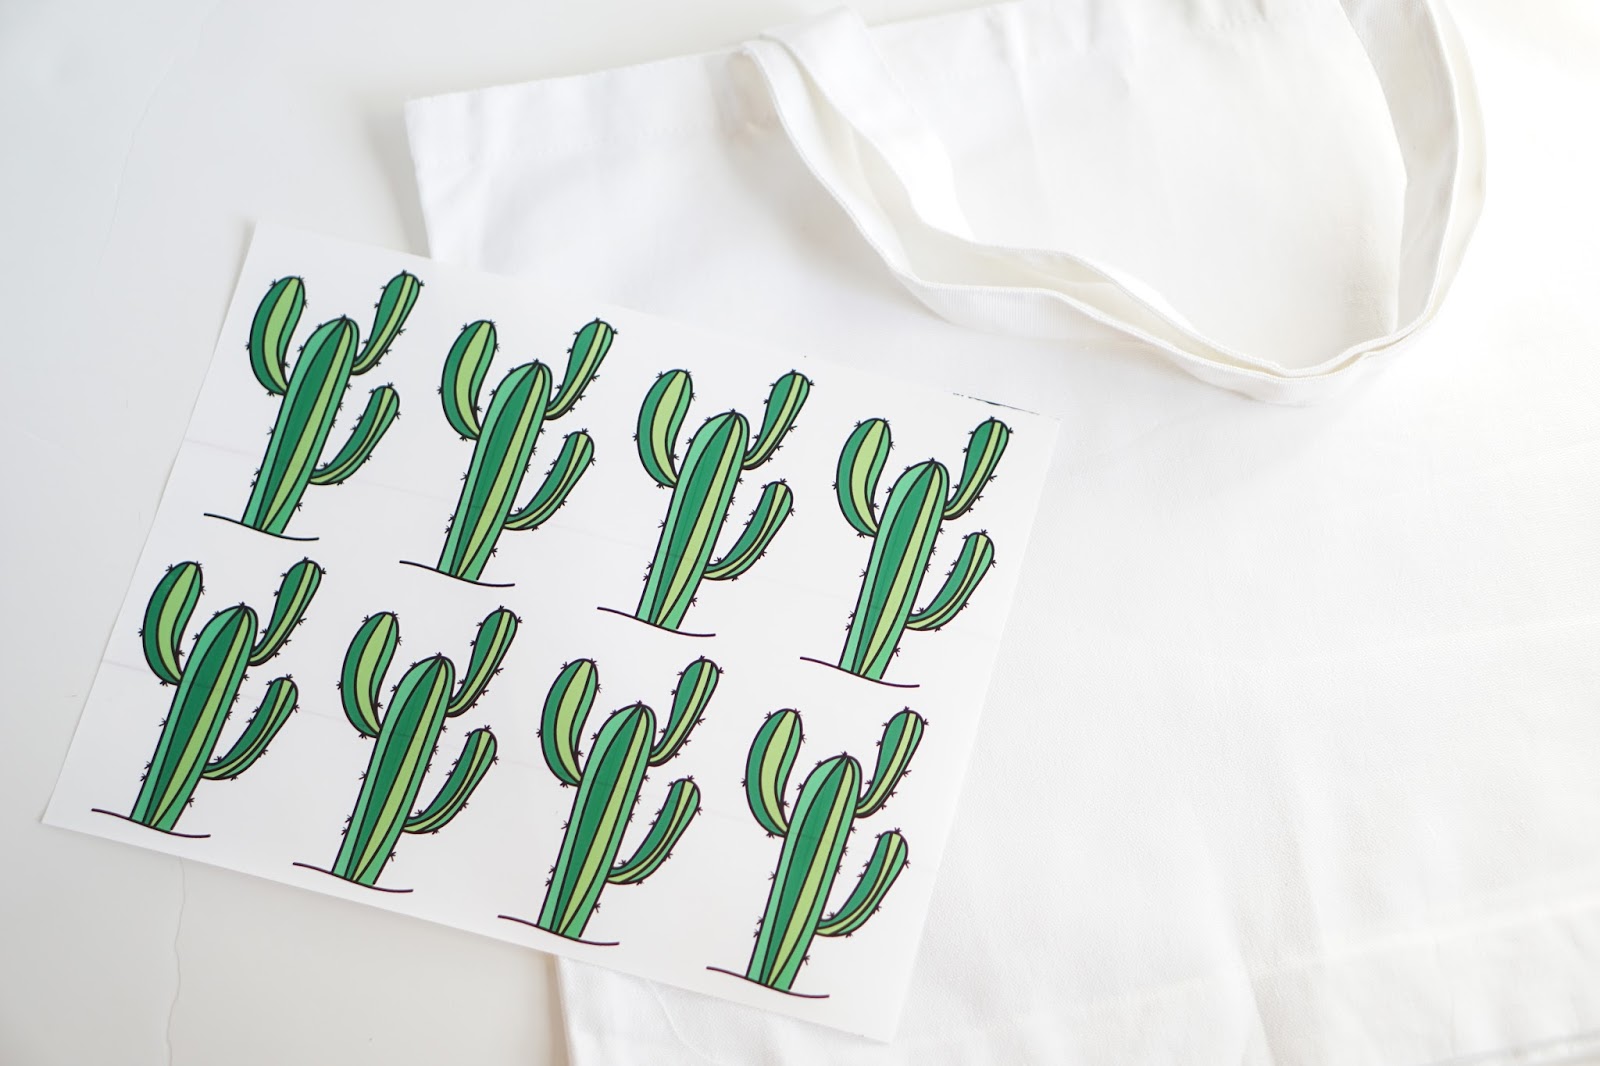
Step 1: Iron your tote bag to get rid of any creases. Print out the cacti designs on a single piece of iron-on transfer paper.

Step 2: Cut out each of the cacti with scissors. Cut as close to the black lines as possible, leaving a thin white border.


Step 3: Lay out each of the cacti face-down on the tote bag. Stagger them so that they form a pattern.

Step 4: Iron each of the cacti for about 60 seconds each. Don't peel the backing off any of them yet!

Step 5: Iron all the cacti and let them cool before you pull any of the backings off. If they are not fully cooled, you will pull off some of the design with the backing.
That's it! I hope you loved this DIY as much as I did!!


No comments:
Post a Comment